Bowling enthusiasts know that every detail counts when it comes to improving your game. One such crucial aspect is the bowling pin setup. Whether you’re a beginner or a seasoned bowler, understanding how to set up your pins correctly can significantly impact your performance. This comprehensive guide covers everything you need to know about bowling pin setup, from step-by-step instructions for beginners to advanced tips for left-handed players. Let’s dive into the world of bowling pin setup and elevate your bowling experience.
 The Ultimate Guide to Pin Setup for Beginners: Step-by-Step Instructions
Starting your bowling journey can be exciting yet overwhelming. Proper bowling pin setup is the foundation of a successful game. Follow these steps to ensure your pins are perfectly arranged every time:
Step 1: Understand the Pin Layout
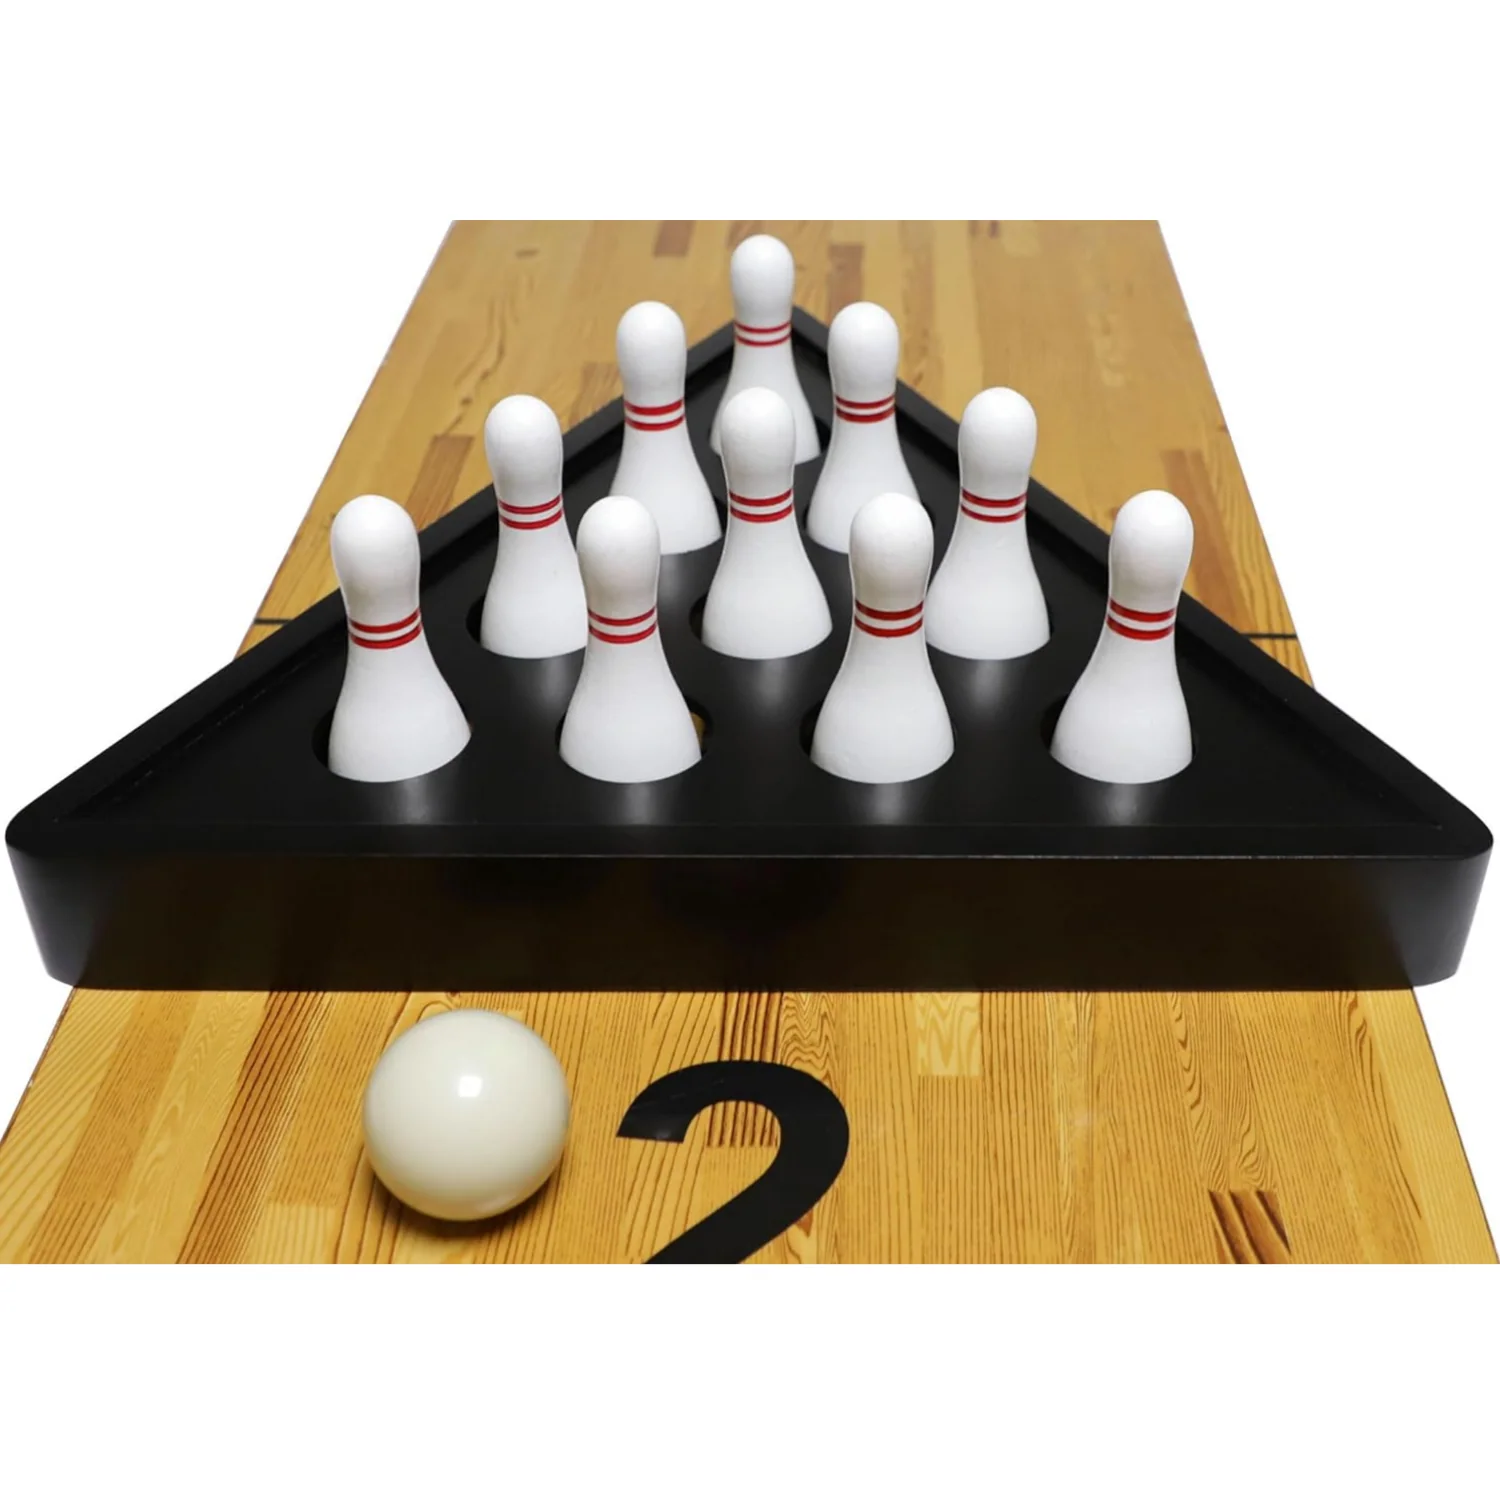
A standard bowling pin setup consists of ten pins arranged in a triangular formation. The pins are positioned in four rows:
- First Row: 1 pin (the head pin)
- Second Row: 2 pins
- Third Row: 3 pins
- Fourth Row: 4 pins
This arrangement forms a pyramid shape with the head pin directly in front.
Step 2: Use the Right Tools
Having the correct equipment is essential. Use a reliable pin setter or a manual pinsetter kit if you’re setting up pins at home. Ensure all pins are identical in size and weight for consistency.
Step 3: Position the Pins Accurately
Place the head pin first, ensuring it is centered. Then, add the second row on either side of the head pin. Continue adding the remaining rows, maintaining equal spacing between each pin. Accuracy is key to a fair game.
Step 4: Check for Alignment
Once all pins are placed, double-check their alignment. Ensure that each row is straight and all pins are evenly spaced. Proper alignment prevents pins from wobbling or falling unexpectedly during the game.
Step 5: Secure the Pins
If you’re setting up pins manually, use pin guards or holders to keep them in place. This prevents pins from shifting before the bowler releases the ball.
By following these steps, beginners can master the basics of bowling pin setup, ensuring a smooth and enjoyable bowling experience.
Pro Tips for Perfect Pin Setup Every Time (Avoid Common Mistakes)
Achieving a flawless bowling pin setup goes beyond the basics. Here are some pro tips to enhance your setup and avoid common mistakes:
1. Consistent Pin Placement
Always place pins in the exact positions every time. Inconsistency can lead to unfair gameplay and affect your score accuracy.
2. Regular Maintenance
Keep your pinsetter equipment clean and well-maintained. Regularly inspect for wear and tear to ensure reliable performance during games.
3. Use High-Quality Pins
Invest in high-quality bowling pins that are uniformly weighted and crafted. Superior pins offer better durability and a more consistent setup.
4. Avoid Overlooking the Lane Conditions
Lane conditions, such as oil patterns, can influence how pins react when hit. Adjust your setup based on the specific conditions of the alley to optimize your game.
5. Practice Precision
Take your time to set up pins precisely. Rushing can result in misaligned pins, leading to unpredictable outcomes and potential disputes.
6. Educate Your Team
Ensure that everyone involved in setting up the pins understands the correct procedures. Consistent teamwork fosters a fair and enjoyable bowling environment.
Implementing these pro tips will help you achieve a perfect bowling pin setup every time, enhancing your overall bowling performance.
Pin Setup for Home Alleys: DIY Tips for Perfect Alignment
Setting up pins at home can be fun and rewarding. Here’s how to achieve perfect alignment with a DIY approach:
1. Invest in a Home Pinsetter
A home pinsetter simplifies the setup process. Choose one that suits your budget and space requirements, ensuring it can handle regular use if you bowl frequently.
2. Create a Smooth Bowling Surface
Ensure your home bowling lane has a smooth surface. Any imperfections can disrupt the pin setup and affect gameplay.
3. Use a Pin Ramp
A pin ramp helps guide the pins into their correct positions. It minimizes manual handling and ensures consistent placement each time.
4. Mark Pin Positions
Use markers or tape to outline the precise locations for each pin. This visual aid assists in maintaining accurate placement during setup.
5. Practice Regularly
Regular practice with your DIY setup enhances your precision skills. The more you practice, the more efficient your bowling pin setup becomes.
6. Maintain Organization
Keep your pins organized and stored properly when not in use. Proper storage prevents damage and ensures that pins remain in good condition.
By following these DIY tips, you can create a reliable bowling pin setup at home, making your personal bowling sessions enjoyable and professional.
 Why Proper Pin Setup Matters: How It Affects Your Game Score
A proper bowling pin setup is crucial for several reasons, directly impacting your game score and overall experience:
1. Fair Competition
Accurate pin setup ensures fair competition. Misaligned pins can skew scores and lead to disputes, undermining the integrity of the game.
2. Consistent Gameplay
Consistent pin setup allows for predictable outcomes. This consistency helps bowlers understand how their actions affect the game, improving their strategy and performance.
3. Accurate Scoring
Properly set pins contribute to precise scorekeeping. Accurate scoring reflects true player performance, fostering a fair and competitive environment.
4. Enhanced Enjoyment
A well-organized pin setup enhances the overall enjoyment of the game. Players can focus on their technique and strategy without worrying about uneven pin arrangements.
5. Skill Development
Consistent pin setup helps bowlers develop their skills more effectively. Understanding how pin placement affects the ball’s impact allows for targeted improvements.
6. Professional Standards
Adhering to professional pin setup standards ensures that your game meets industry expectations. This is especially important for tournaments and leagues that require standardized setups.
In essence, a proper bowling pin setup is fundamental to achieving accurate scores, fair play, and an enjoyable bowling experience.
Pin Setup Equipment Guide: Tools You Need for Professional Results
To achieve a professional bowling pin setup, having the right equipment is essential. Here’s a guide to the necessary tools:
1. Pinsetter Machine
A reliable pinsetter machine automates the setup process, ensuring speed and accuracy. Choose a model that suits your bowling frequency and lane conditions.
2. Pin Spots
Pin spots are markers that indicate where each pin should be placed. They help maintain uniformity and prevent misalignment during setup.
3. Pin Clamps
Pin clamps hold the pins securely in place. They prevent movement during the game, ensuring that pins respond predictably when struck.
4. Pin Ramps
Pin ramps guide pins into their correct positions efficiently. They reduce manual handling and enhance the speed of the setup process.
5. Cleaning Supplies
Keep your pins and equipment clean with appropriate cleaning supplies. Regular maintenance extends the lifespan of your pins and setup tools.
6. Level and Measuring Tools
Use a level and measuring tools to ensure that your lane and pin setup are perfectly aligned. Precision is key to achieving consistent results.
7. Storage Solutions
Proper storage solutions keep your pins and equipment organized and protected. Invest in sturdy bins or racks to maintain order and prevent damage.
8. Repair Kits
Have a repair kit on hand for minor fixes and adjustments. Quick repairs keep your setup running smoothly without significant interruptions.
Having the right equipment enhances your bowling pin setup, leading to professional results and a better bowling experience.
 Pin Setup for Kids: Safe and Fun Family Bowling Tips
Introducing kids to bowling is a fantastic way to spend family time. Here’s how to ensure a safe and enjoyable bowling pin setup for young bowlers:
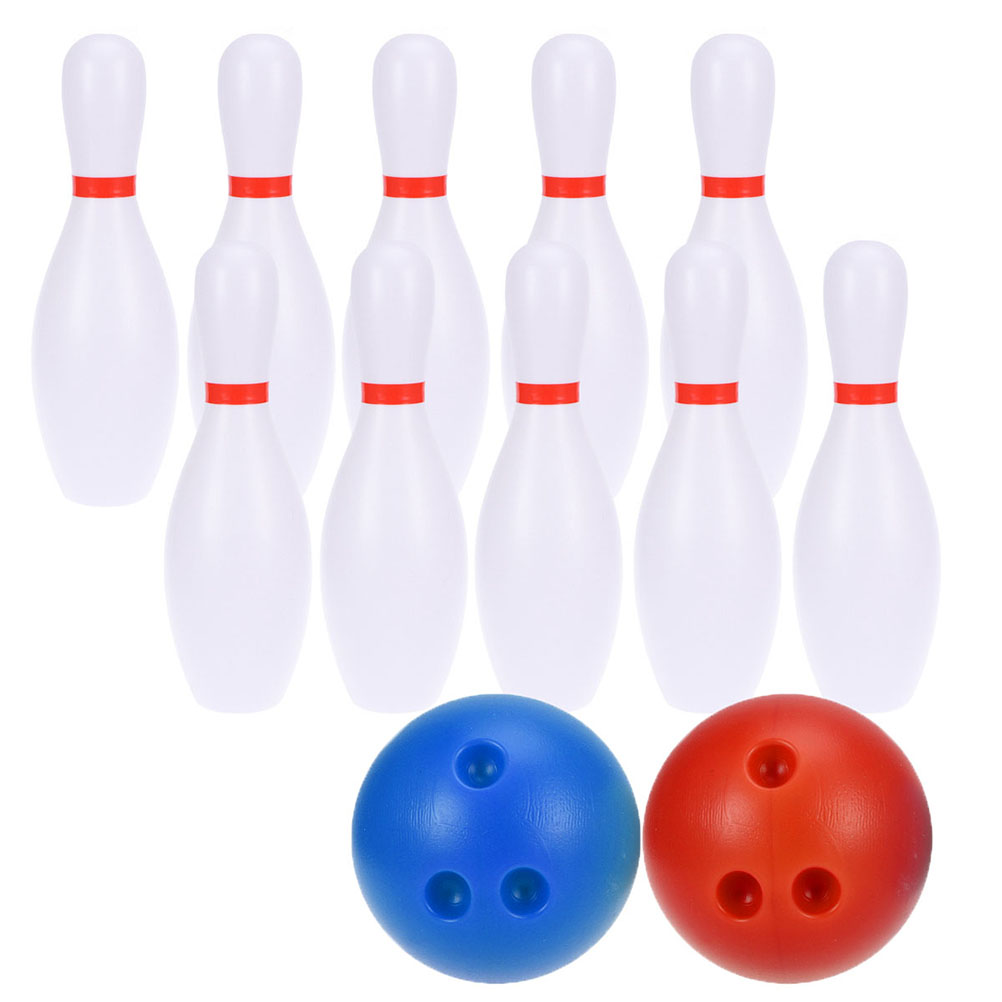
1. Use Kid-Friendly Pins
Choose lightweight and smaller pins designed for children. These pins are easier for kids to handle and reduce the risk of injury.
2. Simplify the Setup
Simplify the pin setup process by using fewer pins or larger spacing. This helps kids understand the basics without feeling overwhelmed.
3. Supervise the Setup
Always supervise children while setting up pins to ensure safety and correct placement. Guidance helps them learn the proper techniques.
4. Make It Fun
Turn the setup process into a game. Encourage kids to arrange the pins correctly by turning it into a fun and interactive activity.
5. Teach Safety Rules
Educate kids on safety rules, such as keeping a safe distance from the lane and handling pins gently. Safety is paramount in family bowling sessions.
6. Provide Supportive Equipment
Use child-sized equipment, such as lighter balls and adjustable pinsetters, to accommodate their size and strength.
7. Celebrate Success
Celebrate each successful setup and strike. Positive reinforcement makes bowling enjoyable and boosts kids’ confidence.
By following these tips, you can create a safe and fun bowling pin setup environment that encourages kids to enjoy and excel in bowling.
FAQ: Common Issues with Pin Setup (Wobbling, Misalignment, etc.)
Addressing common bowling pin setup issues ensures a smooth and fair game. Here are some frequently asked questions and their solutions:
1. Why Do Pins Wobble?
Wobbly pins often result from uneven surfaces or misaligned placement. Ensure the lane is level and pins are placed accurately.
2. How to Fix Misaligned Pins?
Carefully realign misaligned pins by adjusting their positions. Use pin spots or markers to maintain consistent placement.
3. What Causes Pins to Fall Over Easily?
Pins that fall easily may be too lightweight or not securely clamped. Use appropriate pin weights and ensure clamps hold them firmly.
4. How to Prevent Pin Shifting?
Use pin guards or stable pin holders to prevent shifting during the game. Consistent setup practices also minimize pin movement.
5. What Should I Do If Pins Are Damaged?
Inspect pins regularly and replace any damaged ones promptly. Damaged pins can affect the setup and gameplay quality.
6. How to Maintain Pinsetter Equipment?
Regularly clean and service your pinsetter equipment. Proper maintenance prevents malfunctions and ensures reliable setup.
7. Can Environmental Factors Affect Pin Setup?
Yes, factors like humidity and temperature can impact pin materials. Store pins in a controlled environment to maintain their condition.
8. What to Do If Pins Do Not Reset Properly?
Check the pinsetter machine for any blockages or mechanical issues. Regular maintenance can prevent reset problems.
Addressing these common issues with your bowling pin setup ensures a consistent and enjoyable bowling experience.
 Pin Setup Tricks for Left-Handed Players: Optimize Your Approach
Left-handed bowlers have unique needs when it comes to bowling pin setup. Here are some tricks to optimize your setup and improve your game:
1. Adjust Pin Spread
Left-handed players may benefit from adjusting the pin spread slightly to accommodate their throw direction. Experiment with different arrangements to find what works best.
2. Practice Consistent Setup
Maintain a consistent pin setup to ensure that your pin contacts remain predictable. Consistency helps in developing a reliable bowling technique.
3. Use Visual Aids
Visual aids, such as alignment guides, can help left-handed players ensure pins are set correctly. These aids promote accuracy and precision in setup.
4. Customize Pin Holder Positions
Adjust the positions of pin holders to match your bowling stance. Customizing these positions can enhance your comfort and performance.
5. Focus on Symmetry
Ensure that the pin setup is symmetrical from your perspective. Symmetry helps in achieving balanced pin reactions when the ball strikes.
6. Utilize Specialized Equipment
Consider using left-handed specific equipment, such as adjusted pinsetters or tailored pins, to better suit your bowling style.
7. Seek Professional Advice
Consult with bowling coaches or professionals who can provide personalized setup tips for left-handed bowlers. Expert advice can lead to significant improvements.
8. Regularly Review Your Setup
Periodically review and adjust your pin setup to align with any changes in your bowling technique. Regular adjustments help maintain optimal performance.
Implementing these tricks can help left-handed bowlers achieve a more effective bowling pin setup, enhancing their overall game strategy and results.
 Conclusion
Mastering the bowling pin setup is essential for anyone looking to improve their bowling game. From beginners learning step-by-step instructions to experienced players seeking professional tips, understanding how to set up pins correctly can significantly impact your performance and enjoyment. Whether you’re setting up pins at home, ensuring safety for young bowlers, or optimizing your setup as a left-handed player, this guide provides the knowledge and tools you need. Embrace these strategies, avoid common mistakes, and watch your bowling skills soar. With the right bowling pin setup, every game becomes an opportunity to achieve your best scores and enjoy the thrill of bowling to the fullest.