In the realm of cycling technology of 2024, advancements are constantly pushing boundaries to enhance performance and comfort. Among these innovations, tubeless road bike tires have emerged as a game-changer, transforming the way cyclists experience their rides. This comprehensive guide delves into the world of tubeless tires, exploring their benefits, addressing common misconceptions, and guiding you through the process of making the switch.
Understanding Tubeless Technology
What Sets Tubeless Apart?
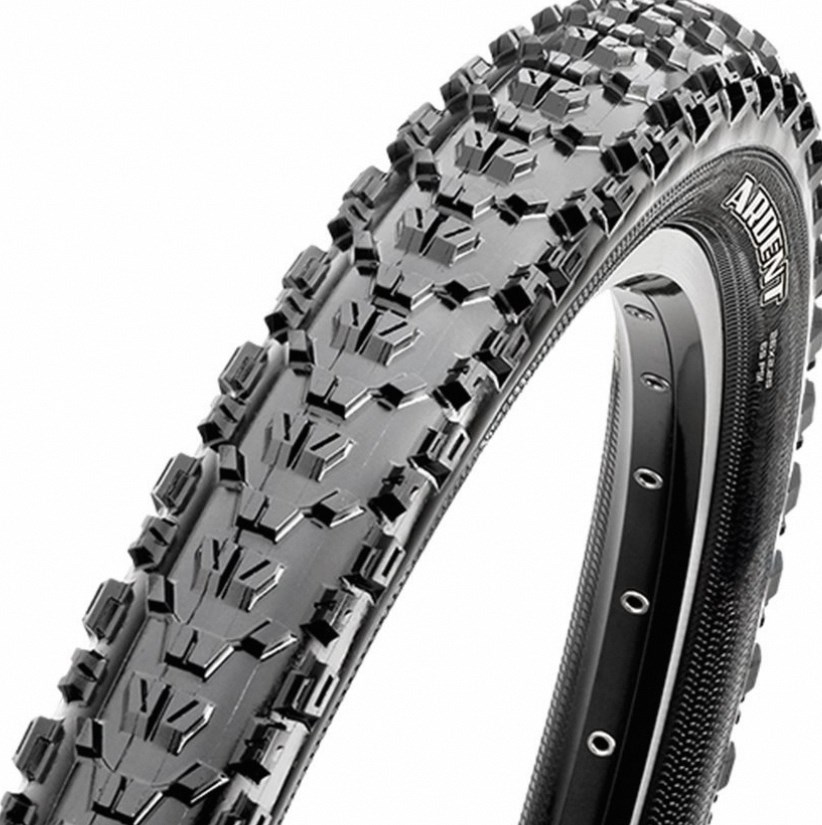
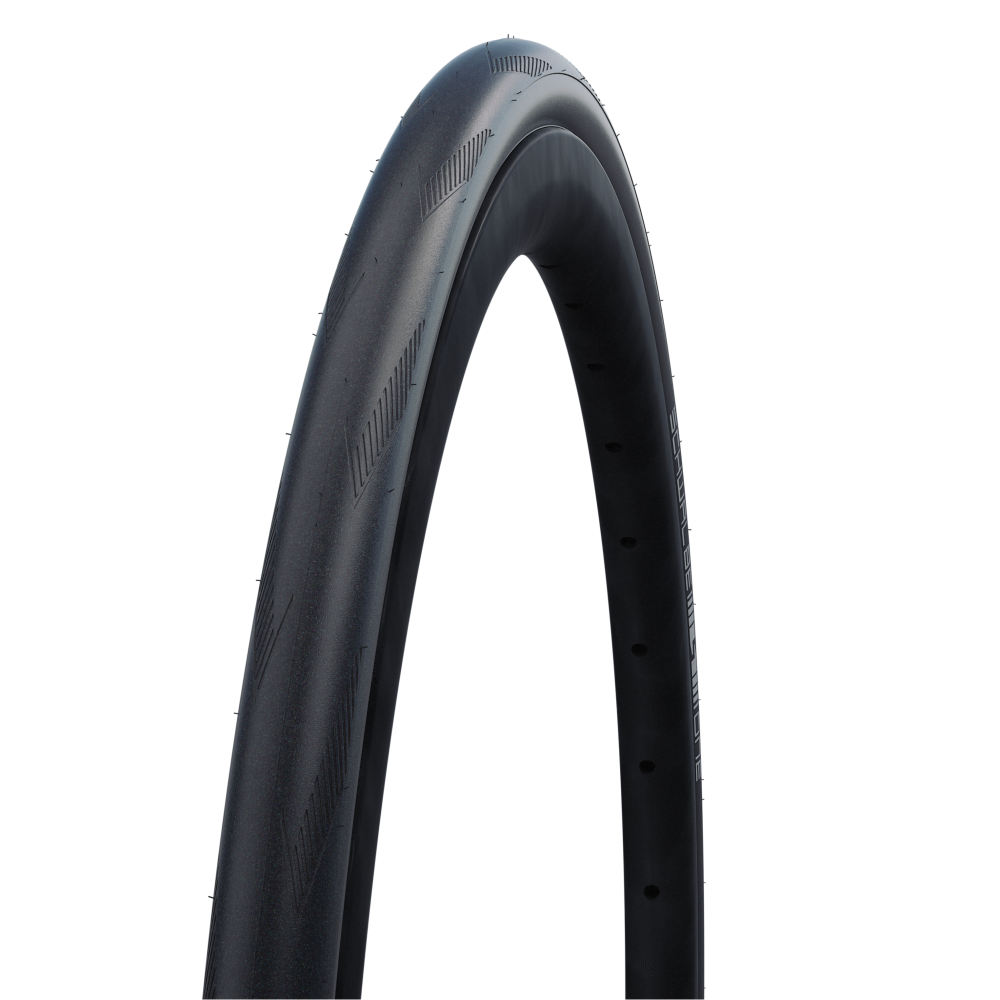
Traditional bicycle tires rely on an inner tube to hold air, sandwiched between the tire and rim. Conversely, tubeless tires form an airtight seal directly between the tire and the specially designed rim, eliminating the need for an inner tube. This seemingly small change introduces a host of advantages for the modern cyclist.
Enhanced Ride Quality
Seal the Deal: Puncture Resistance
Tubeless tires are renowned for their outstanding puncture resistance, a highly acclaimed feature among cyclists and enthusiasts. This resilience is attributed to the presence of sealant, a viscous liquid contained within the tire. When the tire encounters small punctures from thorns or glass shards, the sealant swiftly seals these breaches, effectively preventing air leakage and ensuring uninterrupted rides.
As a result, cyclists can enjoy enhanced peace of mind, knowing that the self-healing property of tubeless tires drastically reduces the likelihood of flats, particularly when navigating rough terrain, gravel paths, or other challenging riding surfaces. This pronounced capability to mitigate the impact of punctures not only enhances the overall durability and reliability of tubeless tires but also contributes to a more enjoyable and hassle-free cycling experience. Ultimately, the exceptional puncture resistance offered by tubeless tires reflects a significant advancement in cycling technology, providing cyclists with greater confidence and convenience during their rides.
Rolling Resistance: Faster and More Efficient
Tubeless tires typically have lower rolling resistance compared to their tubed counterparts. Without the friction generated between the tube and tire, each pedal stroke translates into smoother, more efficient forward motion. Cyclists often report increased speed and reduced fatigue over long distances, making tubeless an attractive option for racers and recreational riders alike.
Weight Savings and Durability
Shaving Grams for Speed
The transition to tubeless tires brings about a substantial reduction in the overall weight of the wheel. Although the weight difference for each individual component may appear minimal, the collective impact of lighter wheels is remarkably significant. This reduction in weight contributes to quicker acceleration, a key advantage for cyclists seeking improved performance. Additionally, during climbs, the reduced wheel weight translates to easier and more energy-efficient ascents, further enhancing the competitive edge for cyclists. The tangible benefits of lighter wheels are particularly pronounced in competitive cycling, where even marginal improvements in acceleration and climbing can make a notable difference in overall performance.
Built to Last
Tubeless tires are known for their thicker sidewalls and robust construction, highlighting their enhanced durability and resistance to cuts and abrasions. This sturdiness not only fortifies the tire against potential damage but also significantly extends its lifespan. The augmented resilience of tubeless tires diminishes the likelihood of punctures and cuts, thereby reducing the frequency of tire replacements. As a result, cyclists benefit from prolonged usage of their tires, ultimately saving money in the long run. The reduced need for replacements not only optimizes cost-efficiency but also minimizes the inconvenience of frequent maintenance and tire changes. This durability and longevity of tubeless tires make them a highly practical and economical choice for cyclists, offering extended reliability and performance while simultaneously contributing to long-term savings and a more seamless riding experience.
Addressing Misconceptions
Installation Hassles: Fact or Fiction?
A common concern among potential adopters is the complexity of setting up tubeless systems. While it’s true that initial installation may require more effort than traditional tires, advances in rim and tire design have significantly simplified the process. With the right tools and a bit of patience, most cyclists can achieve a secure, leak-free setup.
Cost Considerations
The initial investment in tubeless tires and compatible rims may impose a higher upfront cost. However, this initial expense is often offset by the subsequent reduction in maintenance costs and the decreased need for flat repairs. Furthermore, the extended longevity of tubeless tires contributes to long-term savings, as they require less frequent replacement compared to conventional tires. The reduced maintenance, fewer flat repairs, and prolonged tire lifespan ultimately translate into financial benefits for cyclists. Many cycling enthusiasts recognize the long-term savings and performance advantages as compelling reasons to opt for tubeless tires, deeming the initial investment worthwhile. By weighing the enduring cost-efficiency and enhanced performance against the initial outlay, cyclists often find that the long-term advantages far outweigh the upfront expense, ultimately solidifying tubeless tires as a practical and advantageous choice for both recreational and competitive cycling endeavors.
Making the Switch: A Step-by-Step Guide
Switching to tubeless tires is a decision many cyclists contemplate to elevate their riding experience. The process, though once deemed complex, has become increasingly user-friendly with advancements in technology. This step-by-step guide walks you through the transition, ensuring a seamless and successful setup.
Preparing for the Upgrade
1. Confirm Compatibility
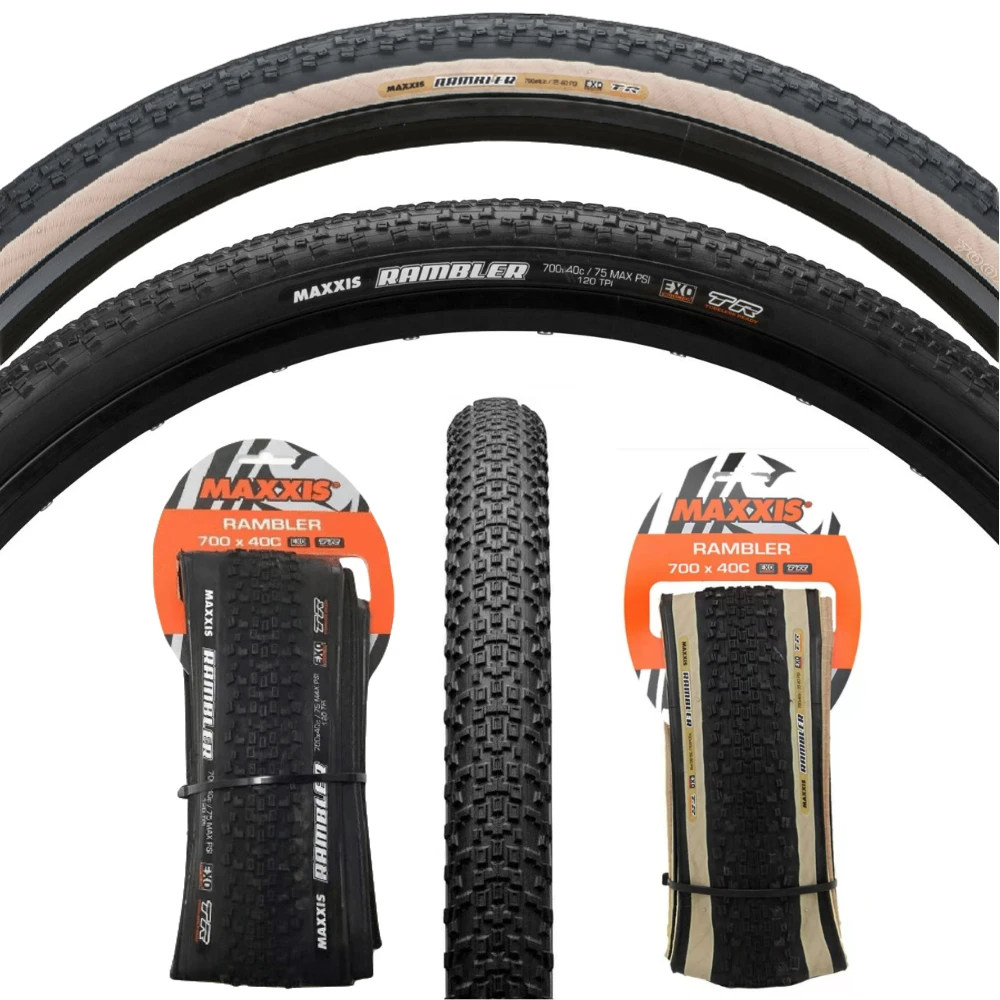
Begin by verifying that your wheels are tubeless-ready. Look for markings such as “TLR,” “Tubeless Ready,” or “UST” on the rim. If your rims lack these indicators, don’t worry; conversion kits are available that include rim tape and valve stems, enabling standard rims to accommodate tubeless tires.

2. Gather Tools and Supplies
To make the switch, gather the following items:
- Tubeless-compatible tires
- Rim tape or a conversion kit
- Tubeless valves
- Tubeless tire sealant
- Soapy water (for lubrication)
- An air compressor or a high-volume floor pump capable of delivering a burst of air
- Tire levers (optional but helpful)
- A syringe or a sealant injection system (for adding sealant)
Setting Up Your Tubeless System
3. Clean and Prepare Rims
Thoroughly clean your rims to remove any debris or residue that could interfere with the seal. Dry them completely before proceeding.
4. Apply Rim Tape and Valves
Install the rim tape, covering the spoke holes to create a smooth surface for the tire seal. Cut the tape to fit the circumference of your rim, overlapping the ends slightly. Next, install the tubeless valves through the rim tape, securing them with the lock nuts provided.
5. Install the Tires
Liberally apply soapy water to both the tire beads and the rim’s contact surface. This will act as a lubricant, facilitating the seating process. With the valve stem in place, drape one side of the tire over the rim. Pour a portion of the sealant into the tire (amount as per manufacturer’s recommendation), then carefully work the other bead onto the rim using your hands or tire levers, being cautious not to pinch the tubeless valve.
6. Inflate and Seal
Connect your air compressor or high-volume pump to the valve and inflate rapidly. The sudden burst of air pressure is crucial for popping both beads of the tire into place against the rim. You may hear a distinctive pop or see the tire bead snap into position. If you don’t achieve an immediate seal, deflate, adjust the tire’s position, and try again. Patience is key here; sometimes, multiple attempts are necessary.
7. Check for Leaks and Finalize
Once both beads are seated, inflate the tire to the recommended pressure, usually printed on the tire sidewall. Spin the wheel while listening for escaping air or looking for bubbles in the soapy water applied earlier. Apply additional sealant through the valve if minor leaks persist.
Post-Installation Tips
- Rotating the Wheel: After installation, rotate the wheel to help distribute the sealant evenly.
- Post-Sealant Inflation: Allow the tire to sit for a few hours or overnight. Reinflate to the desired pressure before riding, as sealants can initially lower the pressure.
- Regular Maintenance: Check the tire pressure regularly and top off the sealant every few months, depending on usage, to maintain optimal performance.
Embrace the Benefits
Transitioning to tubeless tires may require some initial effort, but the rewards—enhanced ride quality, reduced flats, and potentially improved speed—are well worth it. As you embark on this upgrade, remember that practice makes perfect, and with time, installing and maintaining tubeless tires will become second nature. Enjoy your smoother, more reliable rides with the confidence that comes from embracing this cycling innovation.
Conclusion: Embracing the Tubeless Revolution
The shift towards tubeless road bike tires signifies a leap forward in cycling technology, offering benefits that resonate with cyclists of all levels. From reduced punctures and improved ride quality to weight savings and enhanced durability, the advantages are undeniable. While the transition might involve a learning curve and initial investment, the long-term rewards make it a compelling choice for those seeking a superior riding experience. As technology continues to advance, tubeless tires are poised to become the norm, redefining what it means to ride efficiently and comfortably on the open road.